Vacation time – FINALLY

We spent five days days in Michigan’s Upper Peninsula, complete with a day trip to Mackinac Island and an overight on the Canadian side of Sault Ste Marie to ride the Agawa Canyon Train and visit the Canadian Bush Plane Museum. I got to see three of the Great Lakes on this trip – Lake Michigan, Lake Huron and Lake Superior. We explored lighthouses, the Soo Locks in Sault Ste Marie (US side) and spent a half day with one of my husband’s TR buddies. I visited Bittersweet Quilt Shop in Pinconning, Michigan. The shop’s about 3 miles off I-75 in an old church that dates back to 1922. I could easily get into a lot of trouble at that shop! Alas, I limited myself to a couple of FQs and a pattern.

Mackinac Island is a throwback to another era. It’s only accessible most months via ferry or private aircraft. Transportation on the island is via horse taxi, bicycle or your own two feet as cars and motorcycles are not allowed. During the winter months, when Lake Huron freezes over, residents can drive their snowmobiles to the mainland. We opted for a horse-drawn carriage tour of the island’s highlights, walked along main street (sampling fudge as we went) and had a late lunch at the Pink Pony before catching the ferry back to St. Ignace. Intermittent heavy rains made us nix a planned bicycle ride around the island.

The cooler weather was very welcome compared to the triple digit heat and humidity we’ve had in Atlanta the past three weeks. Trees were just starting to turn into their fall colors in St. Ignace and even more so up in Canada. The Agawa Canyon train tour was worth going, but it’s not the short, themed train ride kids typically enjoy. It’s 4 hours up and and 4 hours back on the same tracks. The waterfalls and scenery are incredible – probably even more so in full fall splendor. Tip: bring your own lunch, drinks and snacks for the journey.

We drove through a number of charming small towns on our journey. Other than Detroit Metro, the largest city we visited was Sault Ste Marie. The Canadian and US sides of Sault Ste Marie have about 90,000 residents combined. Three things this trip showed me: (1) a town of 75,000-100,000 will have the services and everyday shopping we need, (2) being near a body of water is a priority for me in any future moves and (3) a major airport must be within a 2 hour drive.

We flew to Detroit, rented a car and drove to St. Ignace, as my husband’s friend lives about an hour north of Detroit. Otherwise, flying into Traverse City would make the most sense for us. There’s also the option of flying into Pelllston, which is about 30 minutes south of Mackinaw City. The catch: the flight schedule is very, very limited (one or two flights per day) and a lot more expensive than the Detroit or Traverse City options.

Anyhow, I thoroughly enjoyed being able to travel and spend time with my other half. Sadie was not happy when I checked on her through the doggy day care’s camera feed last night. I picked her up this morning and she hasn’t left my side since.

Folded corners – another method!

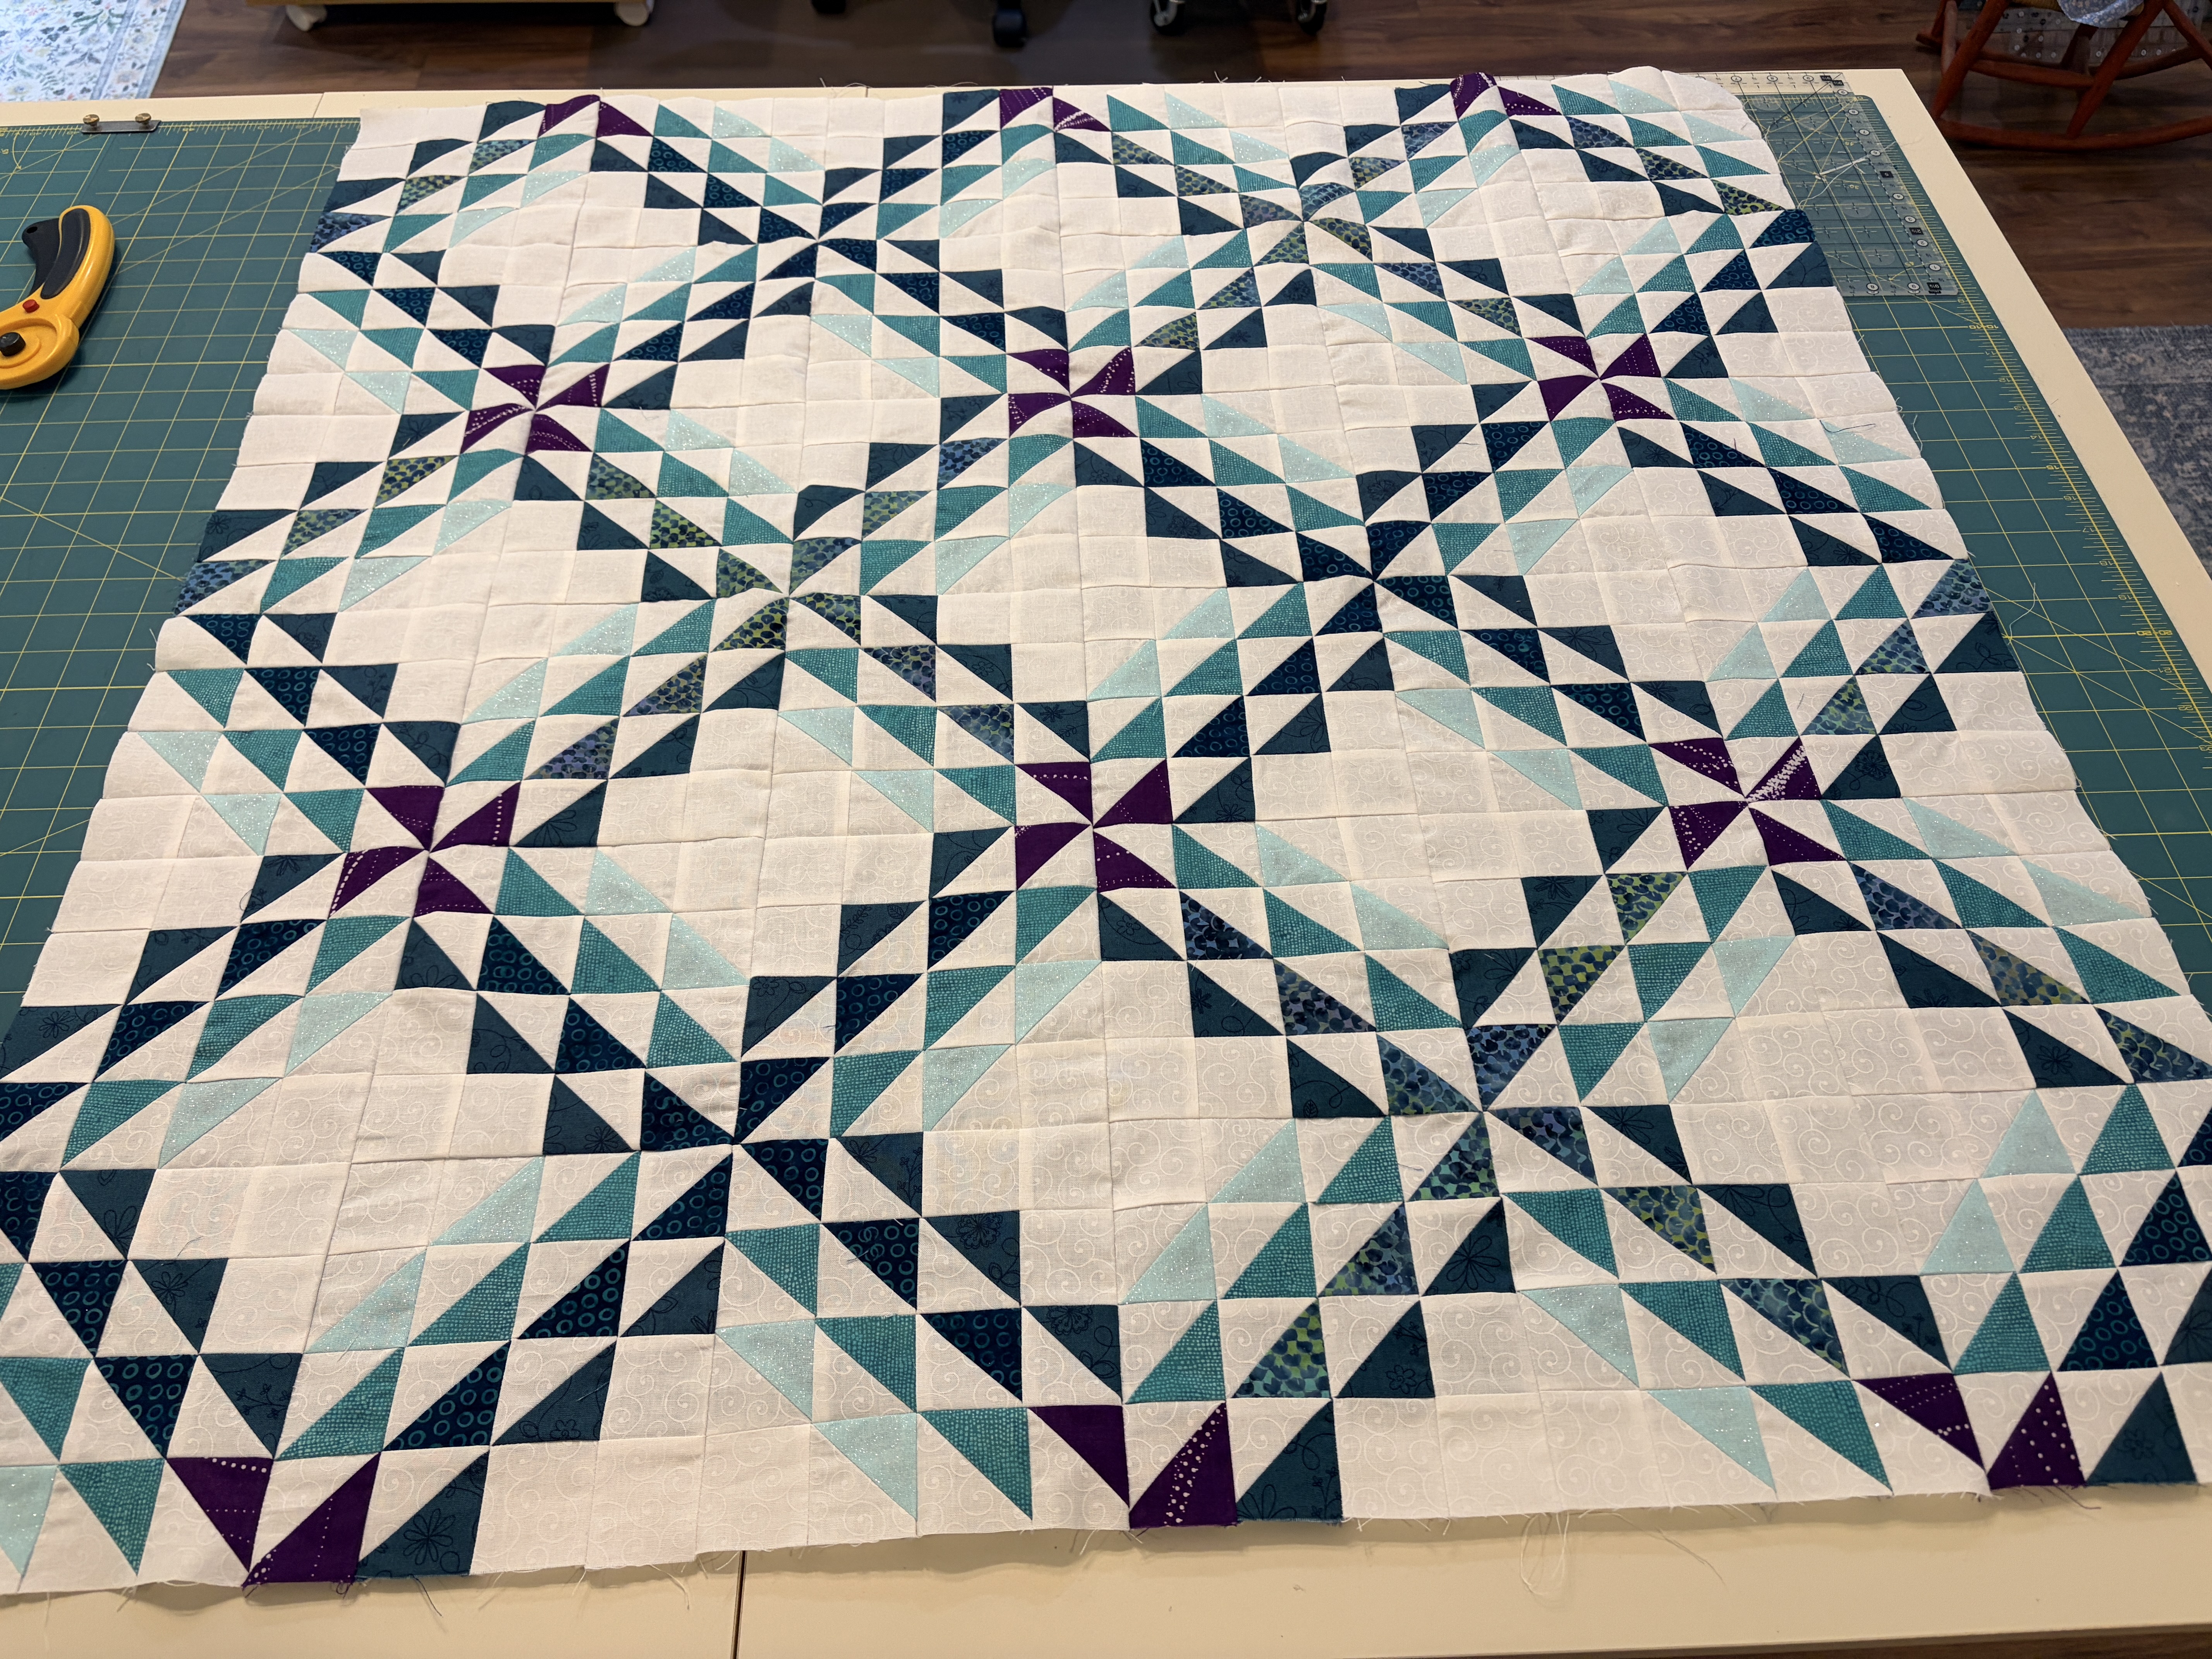
Main portion of what will be a a twin size charity quilt.

Most of the time, I use the Simple Folded Corners ruler from Antler Quilt Design to make folded corner units rather than drawing lines on the back of squares and sewing just to the right of the line. This week, I tried the Corner Pop ruler from Studio 180 Designs. It took a minute to figure things out, but if you are a member of team oversize and cut down, you’ll want to give this ruler some serious consideration. You’ll save on fabric used for the corner triangles. I didn’t have enough of the white print to cut 5″ squares as the traditional method requires. However, I was able to cut 96 triangles from slightly oversize squares to make the quilt. I used every bit of that fabric, but I had enough.

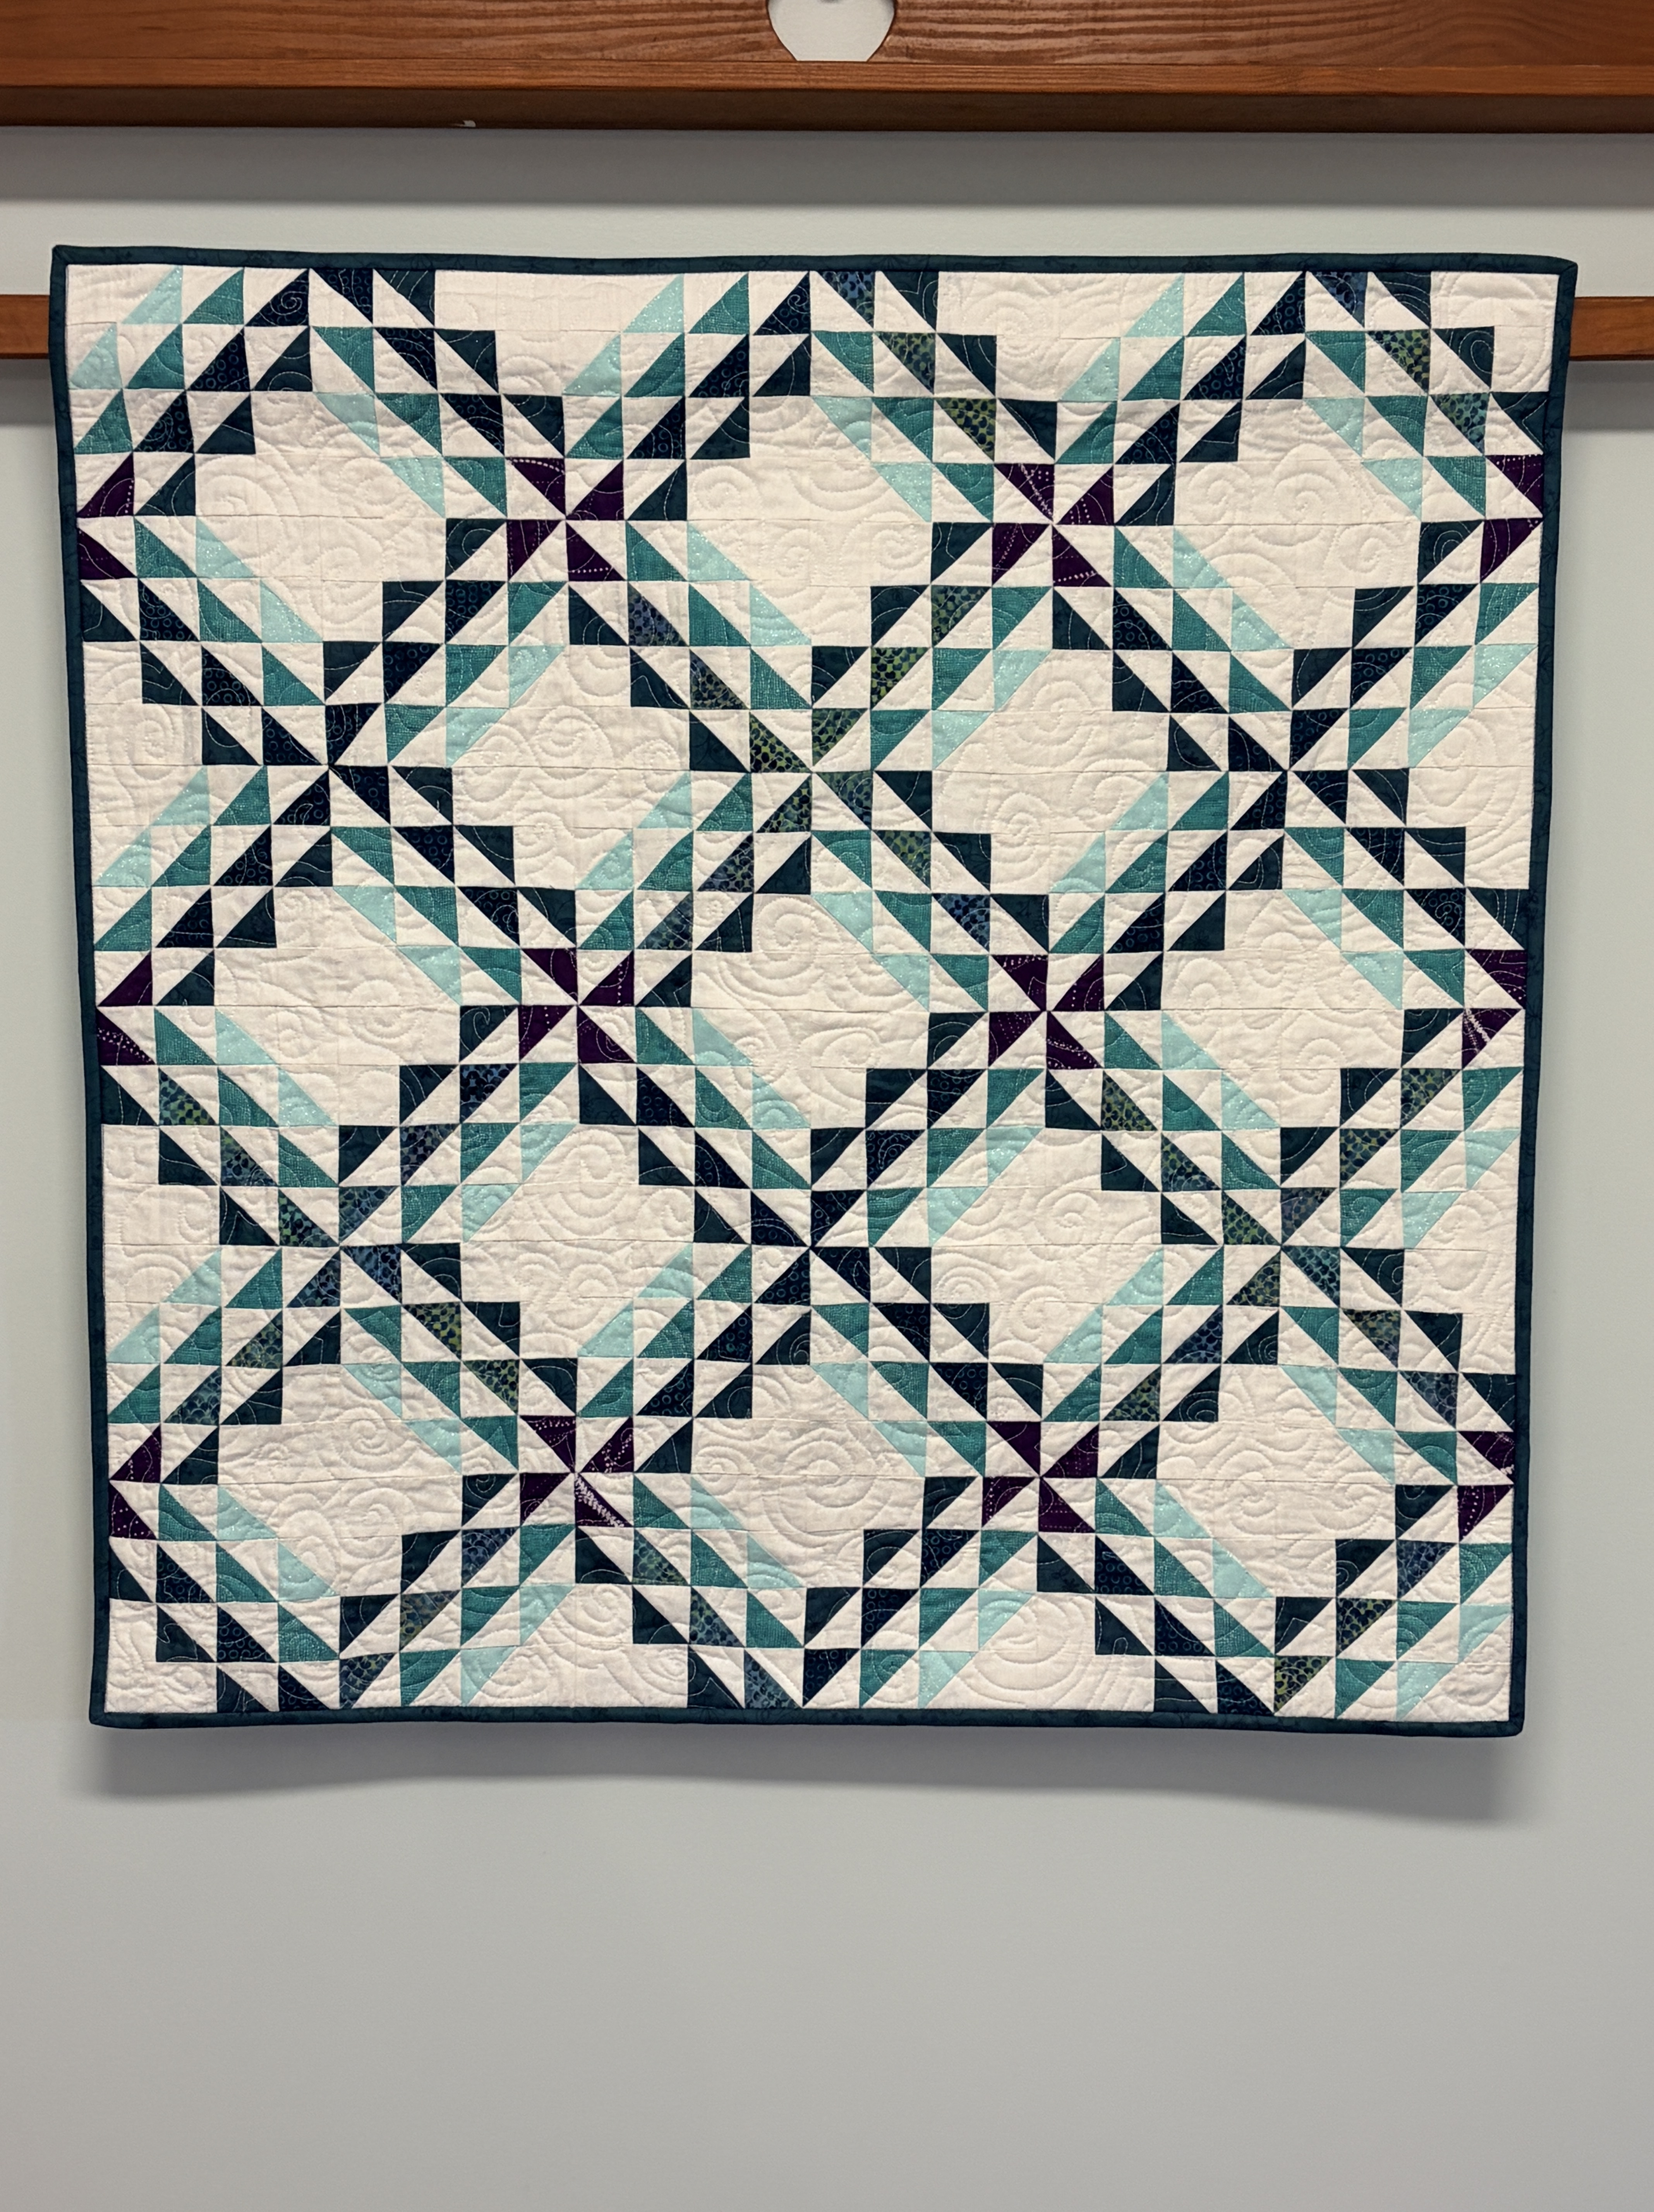
The pattern is RicRac and was featured at a Quilts for Compassion community sew day at JK Quilts. You can use a variety of precuts, yardage and/or a combination thereof to make the quilt. I used a combination of leftover layer cakes plus random 10″ squares and yardage. If you make the twin size, note that the pattern contains an error – you will need to make 48 blocks instead of the 35 listed in the pattern. I made my quilt in a 6×7 layout because I had enough fabric to make 42 blocks. :-). Borders and binding are from my stash. Backing is from Hobby Lobby (and on sale). I’ll FMQ it, pattern TBD. Swirls seems to be my current go-to.

Tips:
(1) Pair the two rectangles that will make each block before cutting. Check the orientation of the folded corners and adjust your fabric accordingly to have motifs or directional fabrics in running in the correct direction.

(2) When using the Corner Pop ruler, lay each pair of rectangles pretty sides together. This way, you can achieve the mirrored angles with a single cut. I like to cut all of my rectangles the same way. I merely rotate the rectangles 180 degrees when I have a pair that meet at the top.

Learning another vintage machine

Kenmore 158.13512 sewing machine from mid-late 1970’s.

Kenmore sewing machines prior the mid-1980s are highly desirable to some vintage sewing machine enthusiasts. My MIL has a cabinet model from the 1960’s that still runs today. The machine pictured above is a low-shank center needle model with a vertical (front-loading) bobbin.

Gladys (named for her former owner) arrived yesterday with instructions to use her in kid’s sewing classes or pass her along to a deserving student. In her previous life, she’d also served as a “practice” machine for an aspiring sewing machine technician. She came with a basic zigzag foot, straight stitch needleplate insert and a power supply/foot pedal. I added some extra generic feet and a couple of plastic class 15 bobbins from my stash. The scant 1/4″ foot from the Featherweight Shop is indeed a scant 1/4″ on this machine.

Like Carmella (my Singer 301A), the more I sew on Gladys, the smoother and quieter she sews. We spent the afternoon getting acquainted. I understand why VSM enthusiasts like vintage Kenmore machines. Overall, she seems to be in good shape – but definitely benefitted from sewing machine oil chased by Tri-Flow in a few spots. Knowledge gained from working on my FW and 301A served me well with Gladys. Her needle no longer goes up & down when winding a bobbin and I adjusted her foot pedal to improve the sewing speed range.

Verdict: Gladys sews absolutely beautiful stitches. She’s easy to operate, but not exactly portable – easily weighing 25-30 pounds. She’ll do best in a cabinet or on a solid surface with a Sew Steady extension table.. I’ll print out the manual and put it in a plastic 3 prong pocket folder. Combined with the extra feet, bobbins and LED bulb, I’ve reached my maximum spend on a machine that will be passed along.